
Assigning an Auto-Responder to an Event
General Event Auto-Responders
If you were wanting to assign an existing auto-responder to get sent out whenever a client registers for an event, whenever they get confirmed, whenever their registration gets removed, or whenever their registration is put on the waiting list, then you would just want to do the following.
First, you would want to navigate to your Admin module-->Setup-->Online Registration-->Configuration page.

Once inside, you would want to scroll down and find a section titled “Event Registration Settings”. From inside of this section, you would want to find a sub section titled “Auto-Responders”.
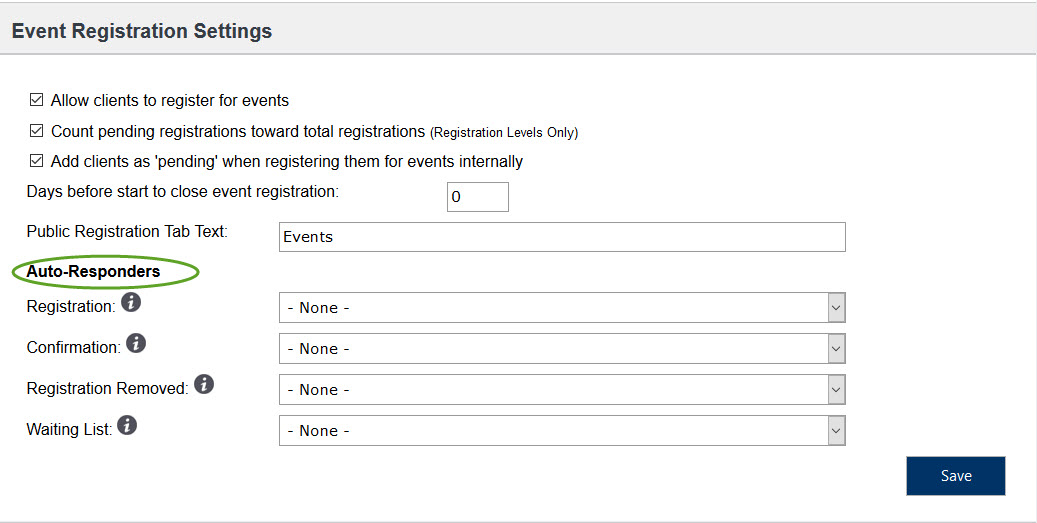
If you were wanting to assign a client based auto-responder to your events that do not contain registration levels, you could do it here. All you would have to do is click on the appropriate drop-down and select the auto-responder of your choice.
The various auto-responders would be sent out at the following stages.
Registration: This “New Event Registration” auto-responder would get sent out whenever a client completed the registration process for an event online through the client registration portal.
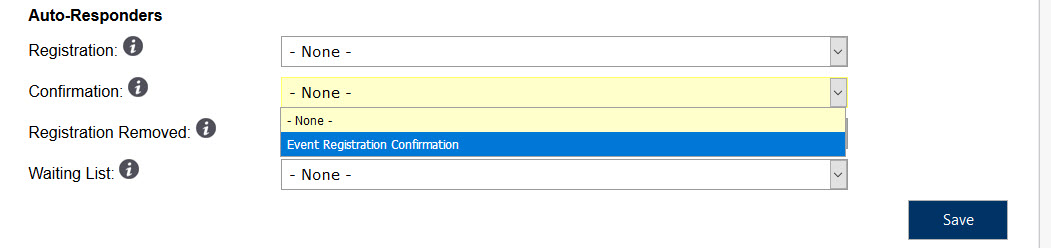
Confirmation: This “Event Registration Confirmed” auto-responder would get sent out whenever a client’s registration is confirmed for an event.
Registration Removed: This “Event Registration Removed” auto-responder would get sent out whenever a client’s registration is removed from an event.
Waiting List: This “Event Registration Waiting List” auto-responder would get sent out whenever a client’s registration is moved to the wait list for an event.
Once you are finished, you would want to click the “Save” button to update your changes. Now, those auto-responders would be getting sent out at the appropriate time for all your events that do not contain registration levels.
Auto-Responders and Events with Registration Levels
If your event is setup to contain registration levels, then you would actually be able to assign auto-responders to a specific registration level. So, if you wanted different auto-responders to get sent depending on the registration level the client had chosen, you could definitely do that.
To start, you would just want to navigate to that specific event page. Once inside, you can click the “Levels” tab in order to edit an existing level. From inside of that tab, you can click on the level in question in order to open the editing window.

From inside of the editing window, you should be able to see a section titled “Auto-Responders”. You could assign an auto-responder by clicking on the appropriate drop-down and selecting the auto-responder in question. Once you are finished, you can click the “Save” button to update your changes.
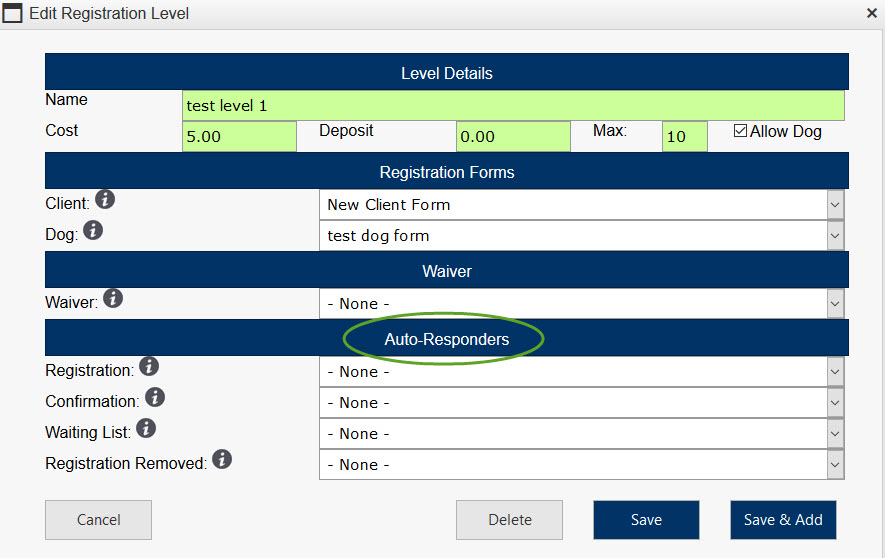
If you did not yet have a registration level created and you had the “Registration Levels” checkbox checked, then you can click the “Add Registration Level” icon in order to add a new registration level.

From inside of that window, you should be able to see the same “Auto-Responders” section showing. From there, you could assign an auto-responder to this new registration level. Once you are finished, you can click the “Save” button to update your changes.
As a reminder, auto-responders assigned to a specific registration level will override those you have assigned as your general event auto-responders in your Admin module.
For more information on creating auto-responders, you can check out our related help article: Settings-Auto-Responders